1. Check Your Boxes!
Before diving in, make sure both boxes arrived safely. Check for any signs of damage. If everything looks good, you’re all set! If not, reach out to our customer support, and we’ll help sort it out.
2. Set Up Your Workspace
Choose a soft surface like a blanket, carpet, or the cardboard from the box to protect your furniture while assembling. We recommend grabbing a friend to help – Pop is a bit bulky, and two pairs of hands make things easier and safer. Smooth surfaces such as this one are naturally more susceptible to minor scratches—this is completely normal. Avoid sharp objects and use soft cloths for cleaning to keep it looking good for a long time.
If you encounter any problems, we are here to help, so please reach out to us!
Step 1: Check Your Parts
Make sure you’ve got everything:
- 1x base panel - A
- 1x top panel - B
- 1x back panel - C
- 1x shelf - D
- 5x side panels - E,F,G,H,I
- 11x dowels
- 12x screws
- 5x wooden legs


Step 2: Back panel
Grab the back panel (C) (the one with the cable hole) and one inner side panel (H). The assembly system clicks together and is tightened with an Allen key – no extra screws required!


Step 3. Create the "T" Structure
Attach the shelf (D) to the inner side panel (G) to form a "T" shape. Tighten all (2) connections.


Step 4: Combine the "T" with the Back
Now, connect the "T" structure to the back panel (C). Tighten the (3) fittings.


Step 5: Add the Left Side Panel
Attach the left outer panel (E) to the shelf. Tighten the connectors in the designated holes.


Step 6: Turn the structure
Carefully turn the assembled structure over and place it on a soft surface to protect both the furniture and your floor.

Step 7: Connect the Top panel
Time for the top panel (B)! Align it with the assembled structure, ensuring all connectors fit perfectly. Tighten each (9) connection securely.
Hint: If some parts don’t line up easily, slightly loosen previous connections and tighten them again once everything is in place.


Step 8: Turning again
Next, carefully rotate the structure again — this time turning it onto the newly attached top panel. Make sure the surface is clean and soft to avoid scratching the panel.

Step 9: Add the Right Side Panel
Now, attach the right outer panel (I) to the top panel and tighten everything into place.


Step 10: Wooden dowels
Now it’s time to insert the wooden dowels (11) into the pre-drilled holes. Each dowel should go in about halfway. These dowels add extra stability to the sideboard structure.

Step 11: Install the base
Next, take the bottom panel (base - A) and place it onto the prepared structure, aligning it with the protruding wooden dowels. You may need to gently apply some pressure to fully insert the dowels into the base. Then, using a screwdriver, tighten 12 screws into the designated holes.


Step 12: Wooden legs
With the base secured, take the wooden legs and screw them in by hand. Once the legs feel stable, carefully turn the sideboard upright (we promise — this is the last flip). Be mindful to set it down evenly, so you don’t put all the weight on a single leg.


Step 13: Mount the Front Panel
Here comes the fun part – attaching the front panel! Ensure the hinges are correctly positioned with matching pairs on each side. The yellow-marked hinges with the circle must be at the bottom.
To attach:
- Hold the top hinges and release the protruding latches downward to clear the way for installation.
- Align the bottom hinges into the linear slot first.
- Once the bottom is secured, align the top hinges and release the latches to lock everything in place.


Step 14: Done and Dusted!
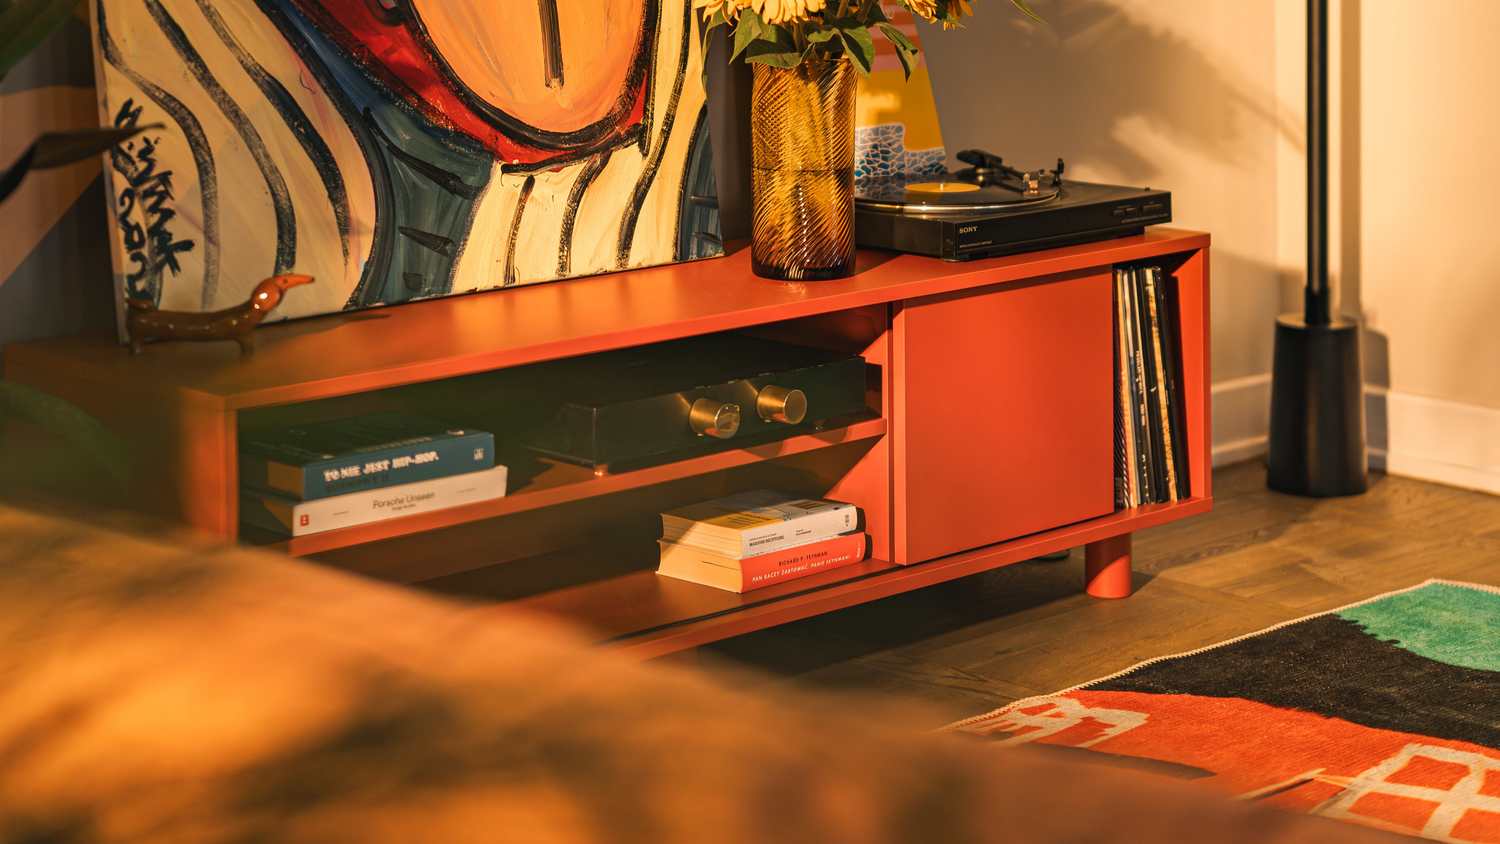
Voila! Your Pop TV stand is ready to shine. If anything feels loose, go back and tighten the connections. Smooth surfaces like this can naturally be more prone to minor scratches — nothing unusual. Always handle with care and use soft cloths when cleaning to keep it looking its best.
Enjoy your new piece of furniture – we hope it feels as amazing as it looks!
If anything was unclear, incorrect, or poorly explained, we would greatly appreciate your feedback.
Now double-check and share with us your work.
Once you have completed assembling, double-check your work to ensure that everything is in place and secure. If everything is save and sound we would love to see the furniture in your unique spaces.


Leave a comment
All comments are moderated before being published.
This site is protected by hCaptcha and the hCaptcha Privacy Policy and Terms of Service apply.