1. Check Your Boxes!
Before diving in, make sure all boxes arrived safely. Check for any signs of damage. If everything looks good, you’re all set! If not, reach out to our customer support, and we’ll help sort it out.
2. Set Up Your Workspace
Choose a soft surface like a blanket, carpet, or the cardboard from the box to protect your furniture while assembling. We recommend grabbing a friend to help – Rel is a bit bulky, and two pairs of hands make things easier and safer.
If you encounter any problems, we are here to help, so please reach out to us!
Step 1: Check Your Parts
Make sure you’ve got everything:
- 1x base panel
- 1x middle panel
- 1x top panel
- 2x nuts
- 2x washers
- 2x rods
- 4x steel tubes
- 1x wrench
- 8x overlays

Step 2: Attach the rods
Important: Before assembling, locate the front and back sides of each shelf.
You can identify the back side by a subtle joint line in the veneer.
Make sure each shelf is correctly oriented before proceeding with the assembly.
On a protected surface, place the top shelf (the longest one) face down. Attach the rods to the top shelf.


Step 3: Slide and align
Grab 4 overlays and 2 steel tubes. Start by sliding two overlays onto the rod — with the raised side facing up. Next, add the two steel tubes. Then, slide on the remaining two overlays — this time with the raised side facing down, so they nest perfectly around the tubes.

Step 4: Place the middle shelf
Place the middle shelf onto the previously assembled frames on the rods. The rods should pass through the pre-drilled holes in the middle shelf. Make sure each shelf is correctly oriented regarding joint line in the veneer.

Step 5: Slide and align
Repeat step 3 and slide another two frames with overlays onto each of the both rods above middle shelf.

Step 6: Place the bottom shelf
Place the bottom shelf - the base onto the rods. Make sure each level is centered and correctly oriented.

Step 7: Screw the nuts
After placing the bottom shelf, insert the small washers onto the rods on both sides. Once the washers are in place, it's time to screw the nuts onto both sides. Tighten them firmly to ensure the furniture is stable.


Step 8 Done and dusted!
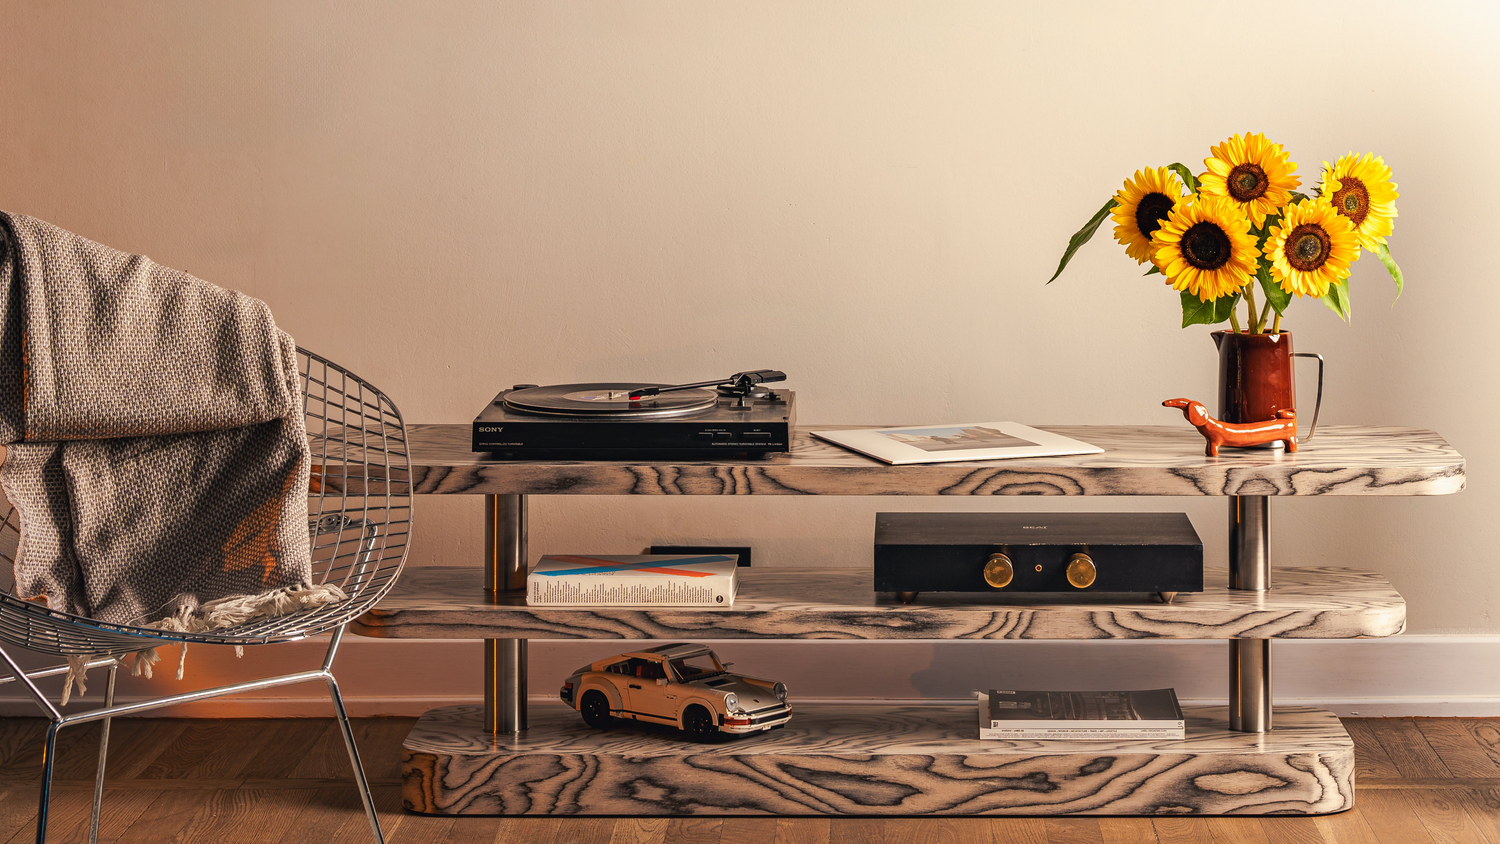
Voila! Your new Rel is ready to shine. If anything feels loose, go back and tighten the connections. Don’t forget to adjust the legs to ensure perfect stability.
Enjoy your new piece of furniture – we hope it feels as amazing as it looks!

If anything was unclear, incorrect, or poorly explained, we would greatly appreciate your feedback.
Now double-check and share with us your work.
Once you have completed assembling, double-check your work to ensure that everything is in place and secure. If everything is save and sound we would love to see the furniture in your unique spaces.


Leave a comment
All comments are moderated before being published.
This site is protected by hCaptcha and the hCaptcha Privacy Policy and Terms of Service apply.